Here we are going to explain to back up the iPhone over the WiFi network to your Mac or PC.
Backup iPhone Over Wireless to Mac
Before we start, there are few things to check. Make sure your iPhone and Mac are on the same WiFi network. Also, you must have done the iPhone backup at least one time to the same computer using the lightning cable. We have used the macOS BigSur for the screenshots. For those who are using old Mac, they can open iTunes to initiate the backup. Your iPhone and Mac should have enough battery backup or connected to the power source. We are performing the iPhone backup over WiFi to your Mac’s local disk, not to iCloud. The iCloud may need additional paid space (more than a free 2GB plan) to perform the full iPhone backup to iCloud.
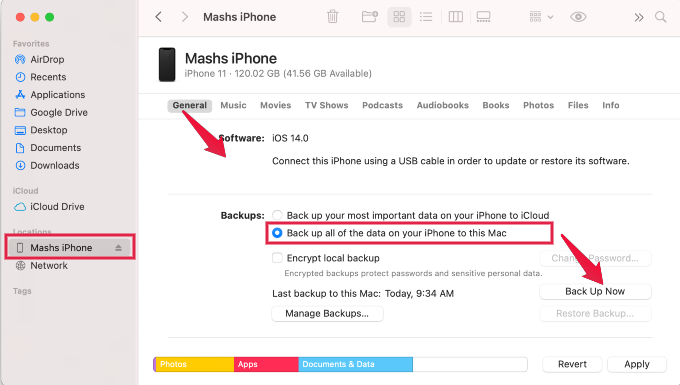
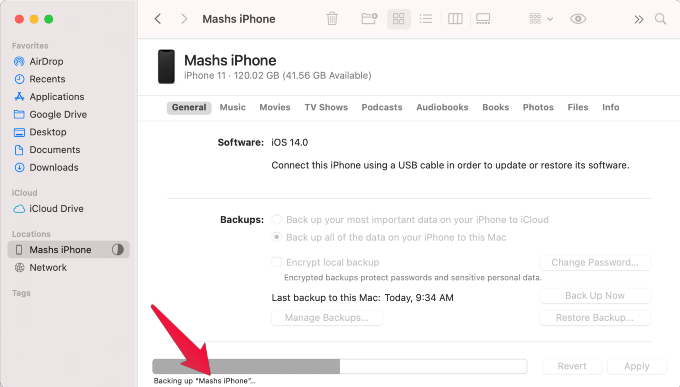
This will initiate the backup process on the iPhone. You can select “Encrypt local backup” if you want to encrypt the backup file son Mac.
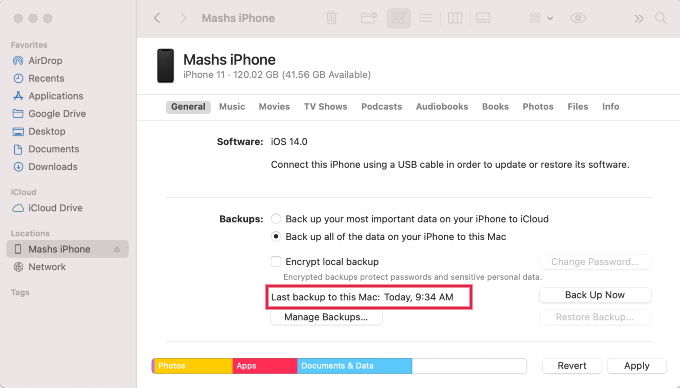
The Mac will finish the back and update the screen with the latest update timestamp. The time to take with WiFi backup depends on the data that need to backup. If you occasionally back up your iPhone with Mac, this will take less than 30 minutes for new backup. You can see a tiny backup icon on your iPhone. If you are using the latest iPhone, you have to drag down from the right corner to get the control panel. You can see an active backup icon rotating on the iPhone top menu in the control panel. This is a quick solution to perform request backup of iPhone to Mac. You can see the solution for Windows users to Backup iPhone Over WiFi to Windows PC. There is no need to attach the wires to the Mac or iPhone to perform this. You can work on both iPhone and Mac while you backup your iPhone over WiFi to your Mac.
Δ


![]()